I'm Officially a Believer in the Apres Gel-X Manicure
Manicures for me are what blowouts are to other people: whether professional or DIY, they give me a serious boost of serotonin. But compared to most nail aficionados, my preferences are pretty simple. I stick to regular nail polish or dip powder manicures if I’m doing them at home and gel if I’m at the salon, and I only get nail-art designs on rare occasions. For my birthday, though, I wanted to do something different.
I’m one of the few beauty editors who can say they’ve never gotten acrylic nails and, due to fear of them weakening my already brittle nails, I didn’t plan on changing that anytime soon. Still, I longed for the long, stiletto-shaped tips that have been flooding my Explore page on Instagram. That’s when I decided to try an Apres gel-x manicure.
I started noticing Apres gel-x, or gel extensions, manicures listed on more salon menus over the last few years, which is a newer type of nail enhancement that bind a gel tip to your natural nail with an LED light (no glue, excessive buffing, or chemicals required). The tips are then cut and filed down to your desired shape and painted and decorated with any design you’d like. They last anywhere from two to three weeks and come off easily after an acetone soak. Apres gel-x offers the same length as acrylic but is considered to be more natural-looking and gentler on your natural nails.
That all sounded right up my alley, so I booked an appointment at a local nail salon that offered the treatment and started saving nail-art inspiration. Here’s how the process went.
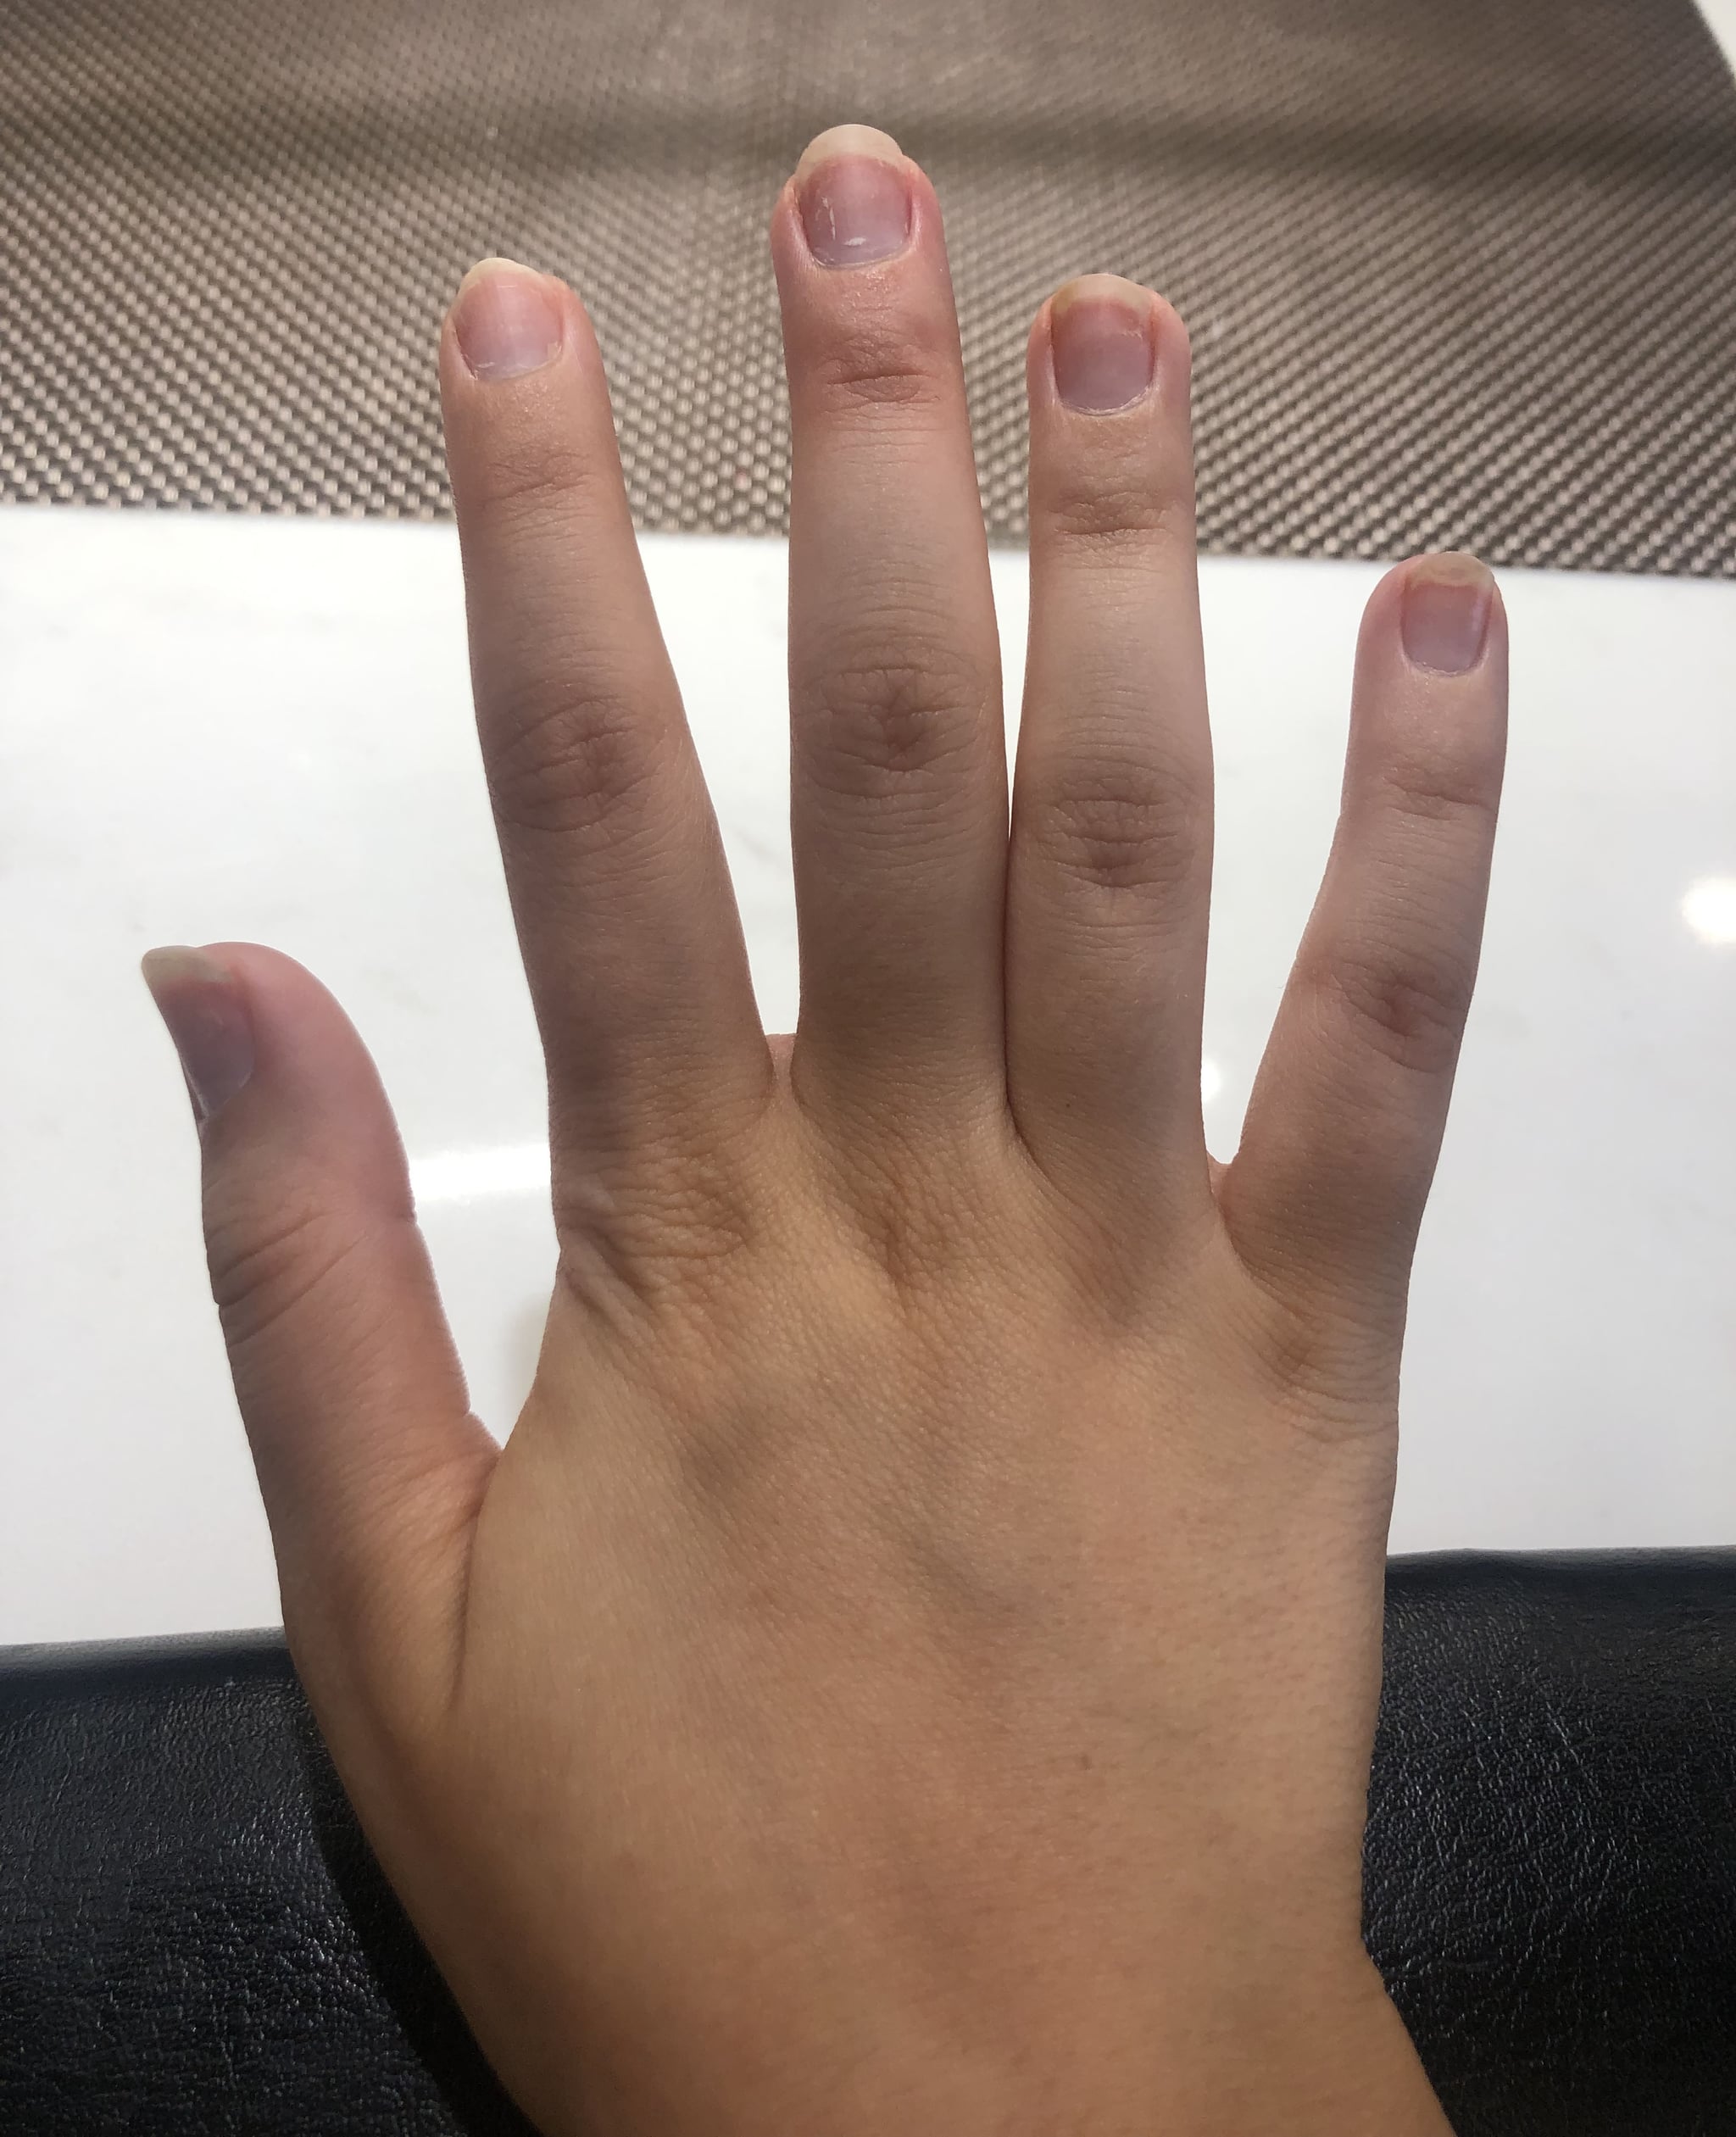
My Nails Before Apres Gel-X Manicure
Upon arrival, my manicurist cleaned and buffed the surface of my natural nails, which were on the shorter side due to a few broken nails. Then, they took out a box of gel-x tips and, one by one, fitted each finger by holding the extension up to my natural nail to find the perfect size (just like you do with press-on nails).
Once all 10 fingers were done, they used an electric file to scratch the inside of the gel-x nail. Then, a coat of gel extend polish was applied to my natural nails and cured with an LED lamp, just like a regular gel manicure. Once the base coat was done, it was time to attach the gel-x nails. After applying the same gel extend polish to the filed section of the gel-x tips, they cured it with a heat lamp.
That initial application process took about 35 minutes. The next step was to cut and file them to my nail shape of choice — I picked stiletto. Once all of the nails were shaped, they were cleaned off from any file residue and it was time to paint them. I decided to go with a french manicure design using red nail polish on a neutral base because I wanted something that would look good for weeks to come as they grew out.
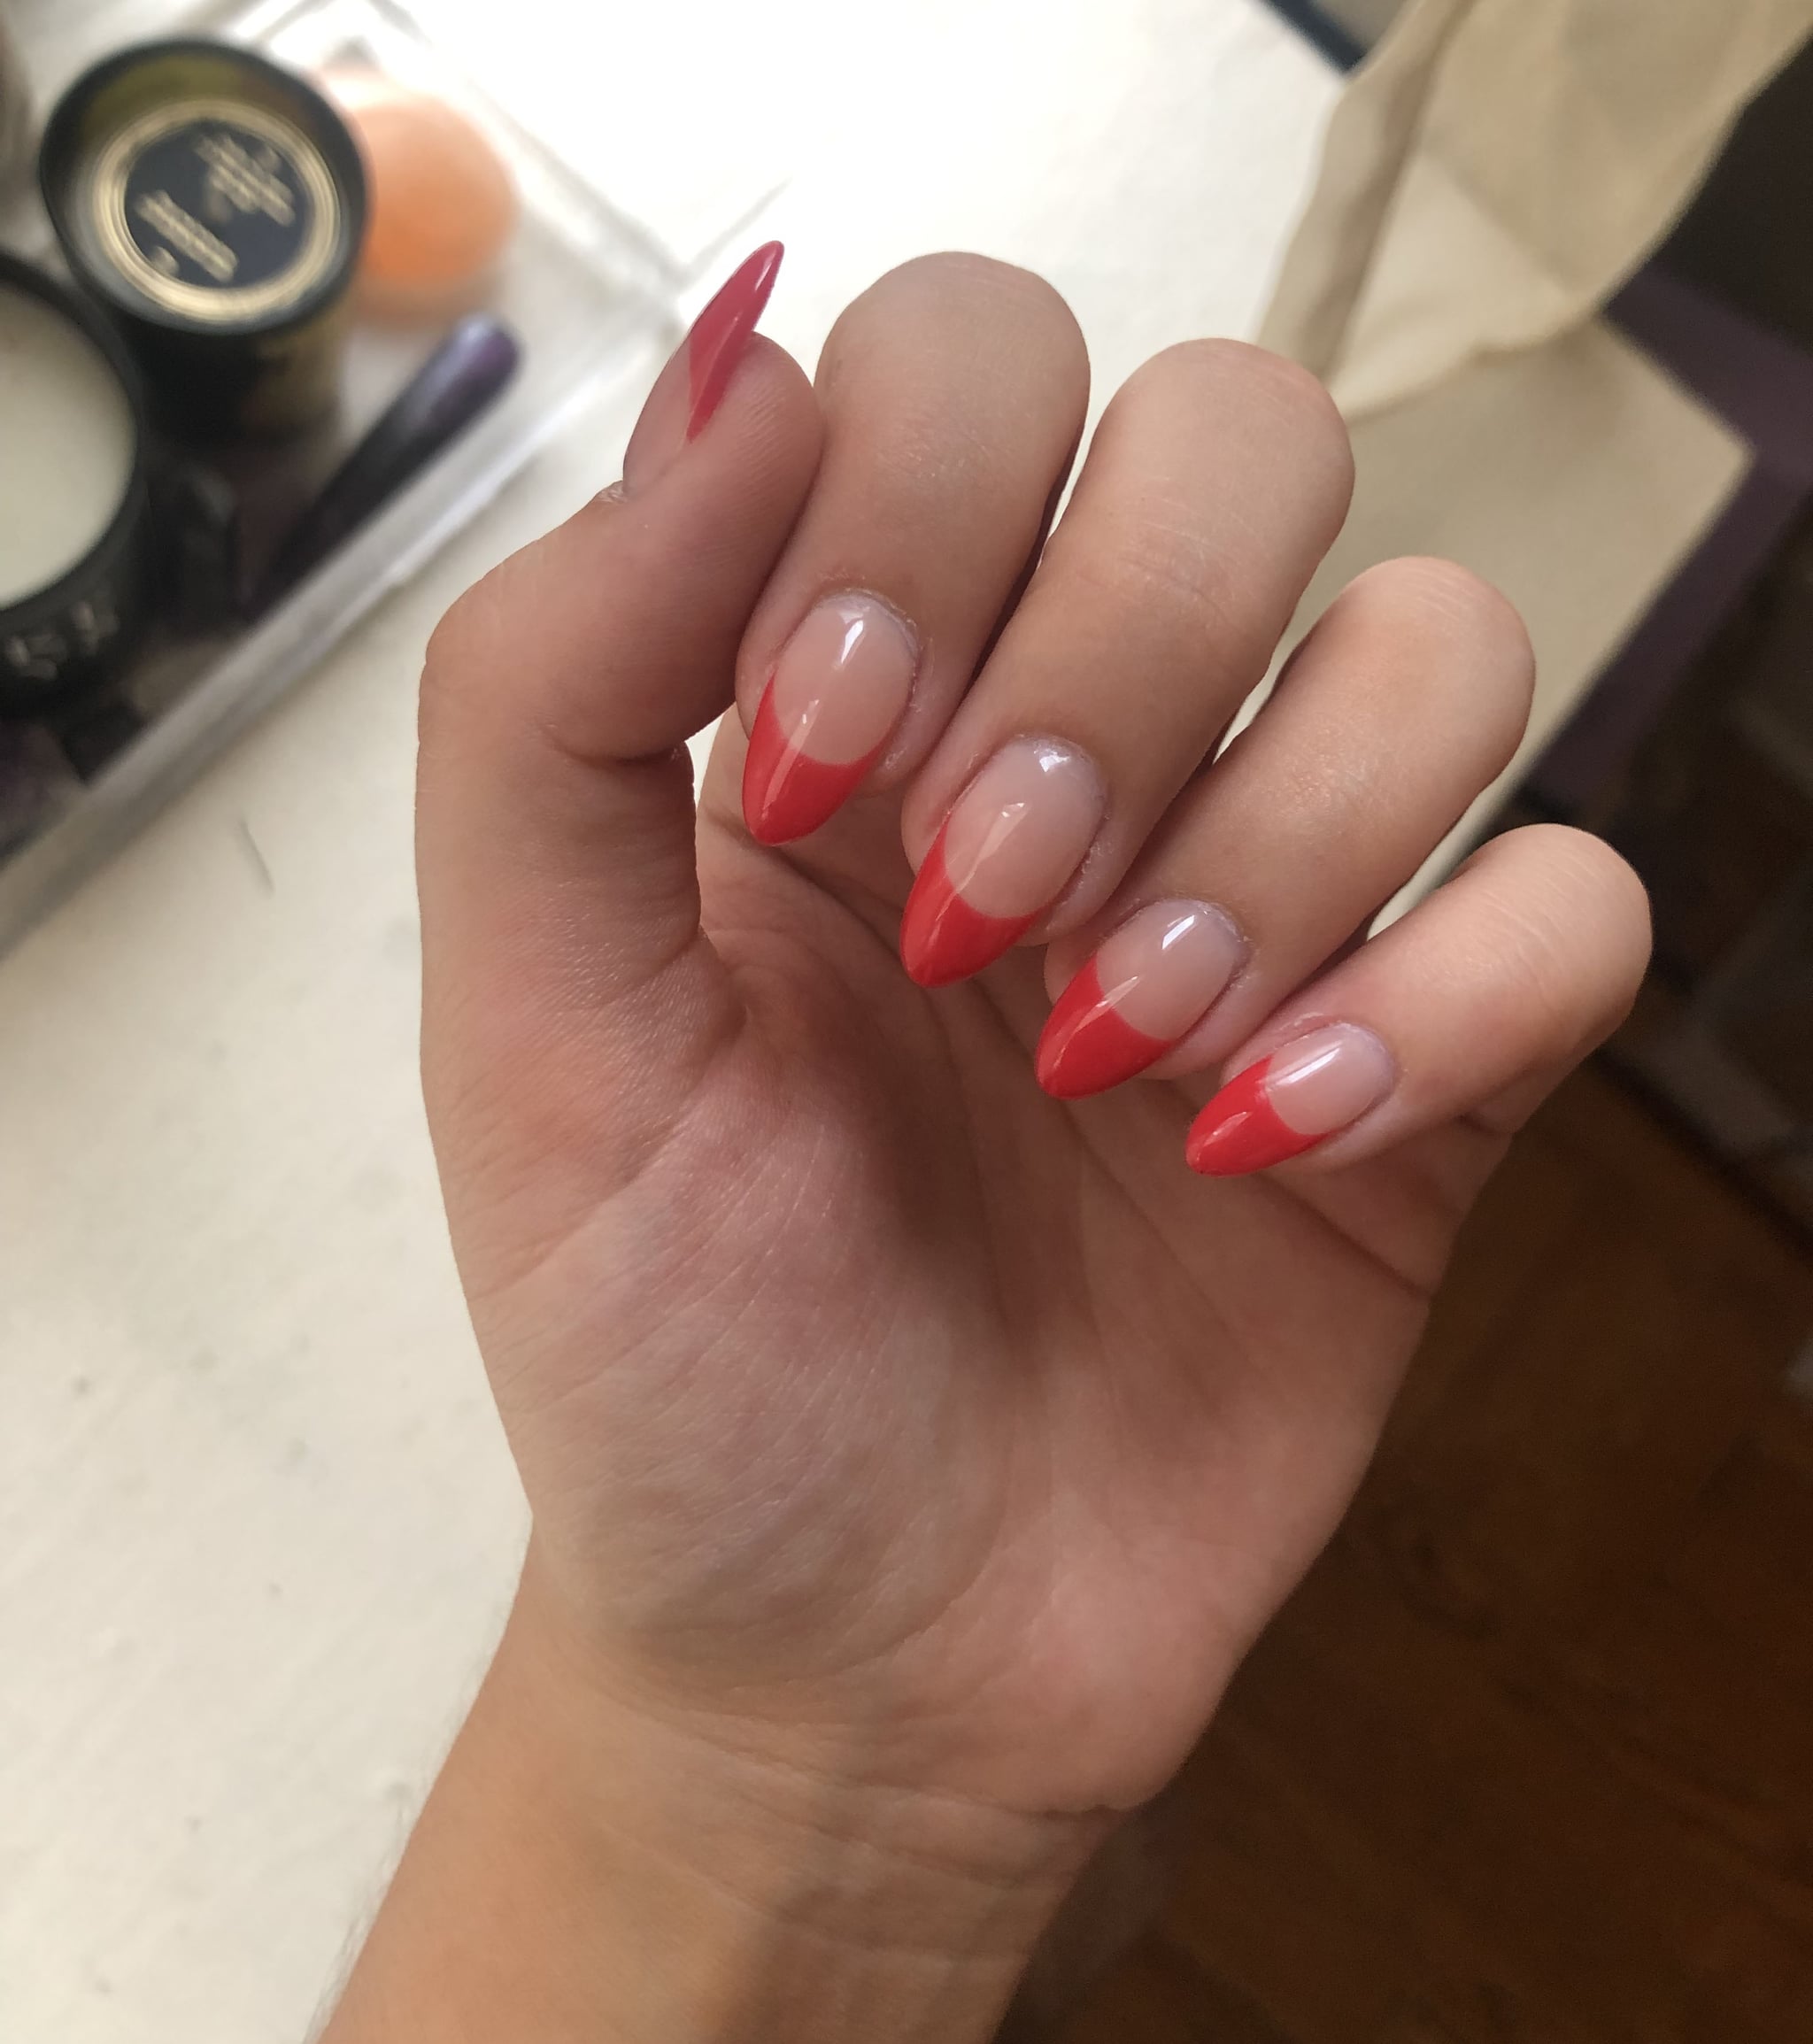
My Nails Immediately After Getting an Apres Gel-X Manicure
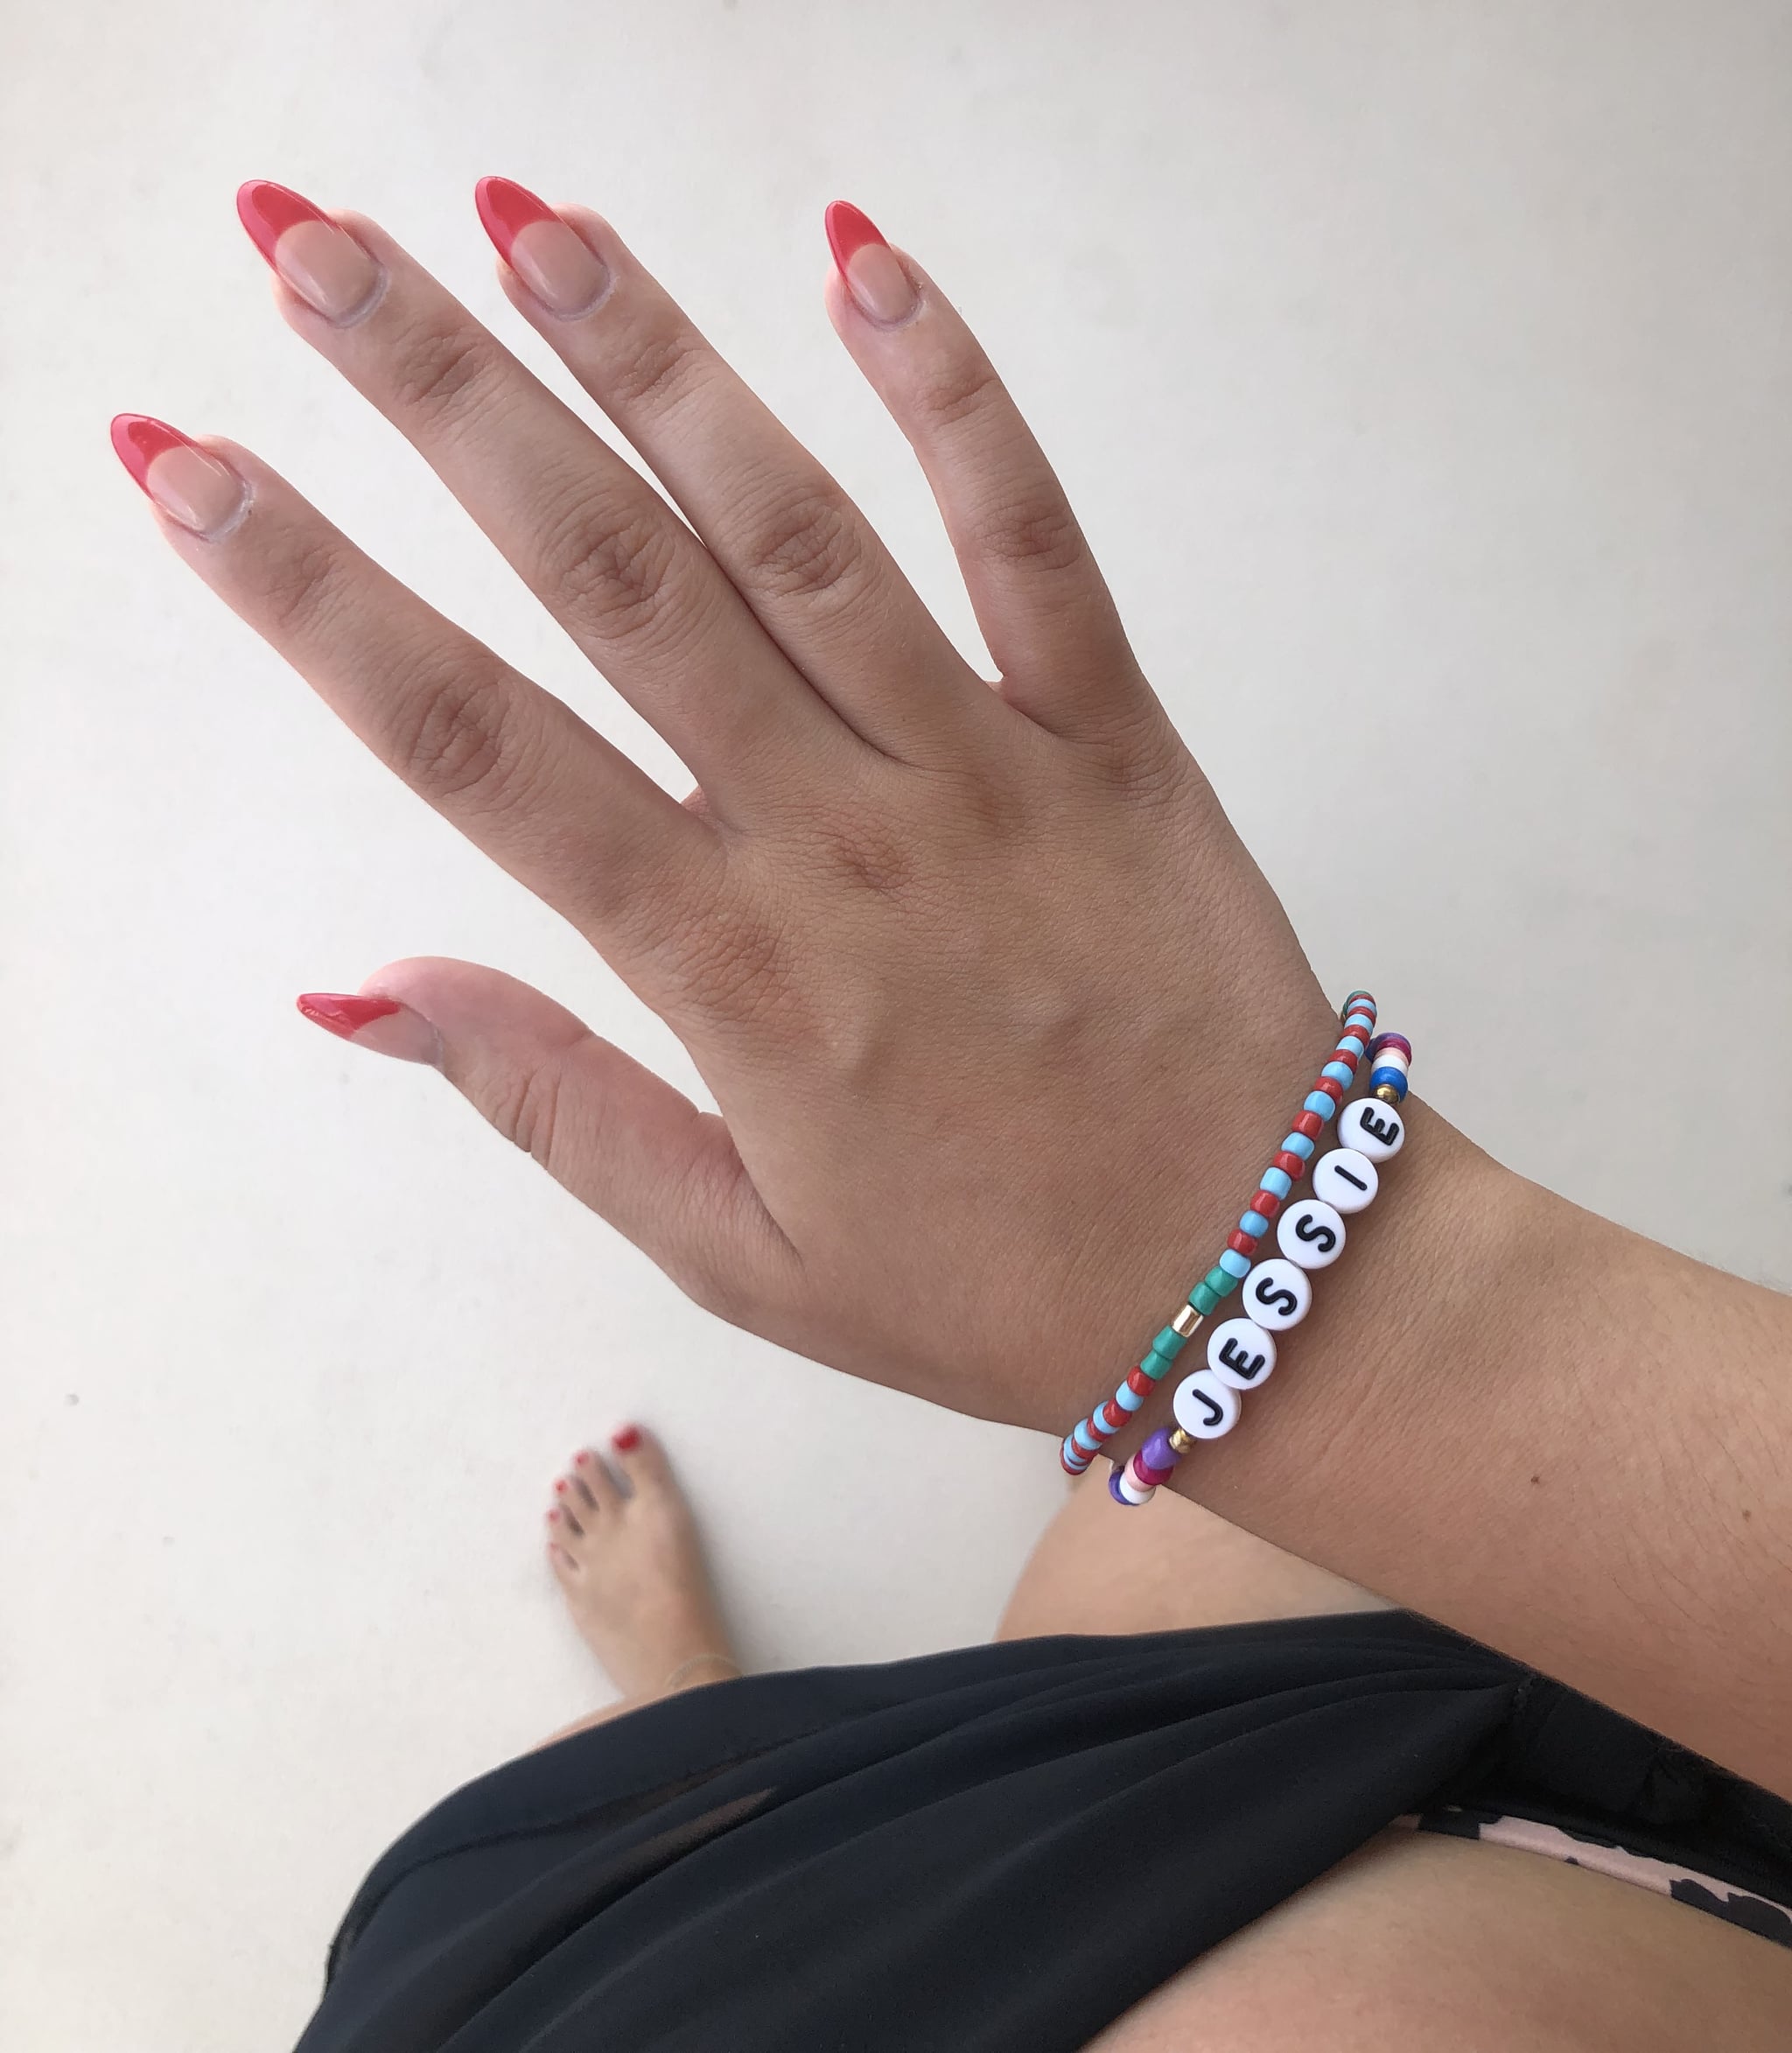
The nail-art portion of the manicure went as it usually does — base polish, cure under LED lamp, and so on. All said and done, the appointment took a little over an hour, which was time well-spent because I couldn’t have been happier with my nails in the end. They were long and perfectly shaped but still looked natural, as if they were my real nails.
I got countless compliments on my manicure in the weeks following my appointment. They held up really well and withstood opening packages, a week vacation at the beach, cleaning my apartment — all of the usual things. Not once did I feel like they could come loose and fall off.
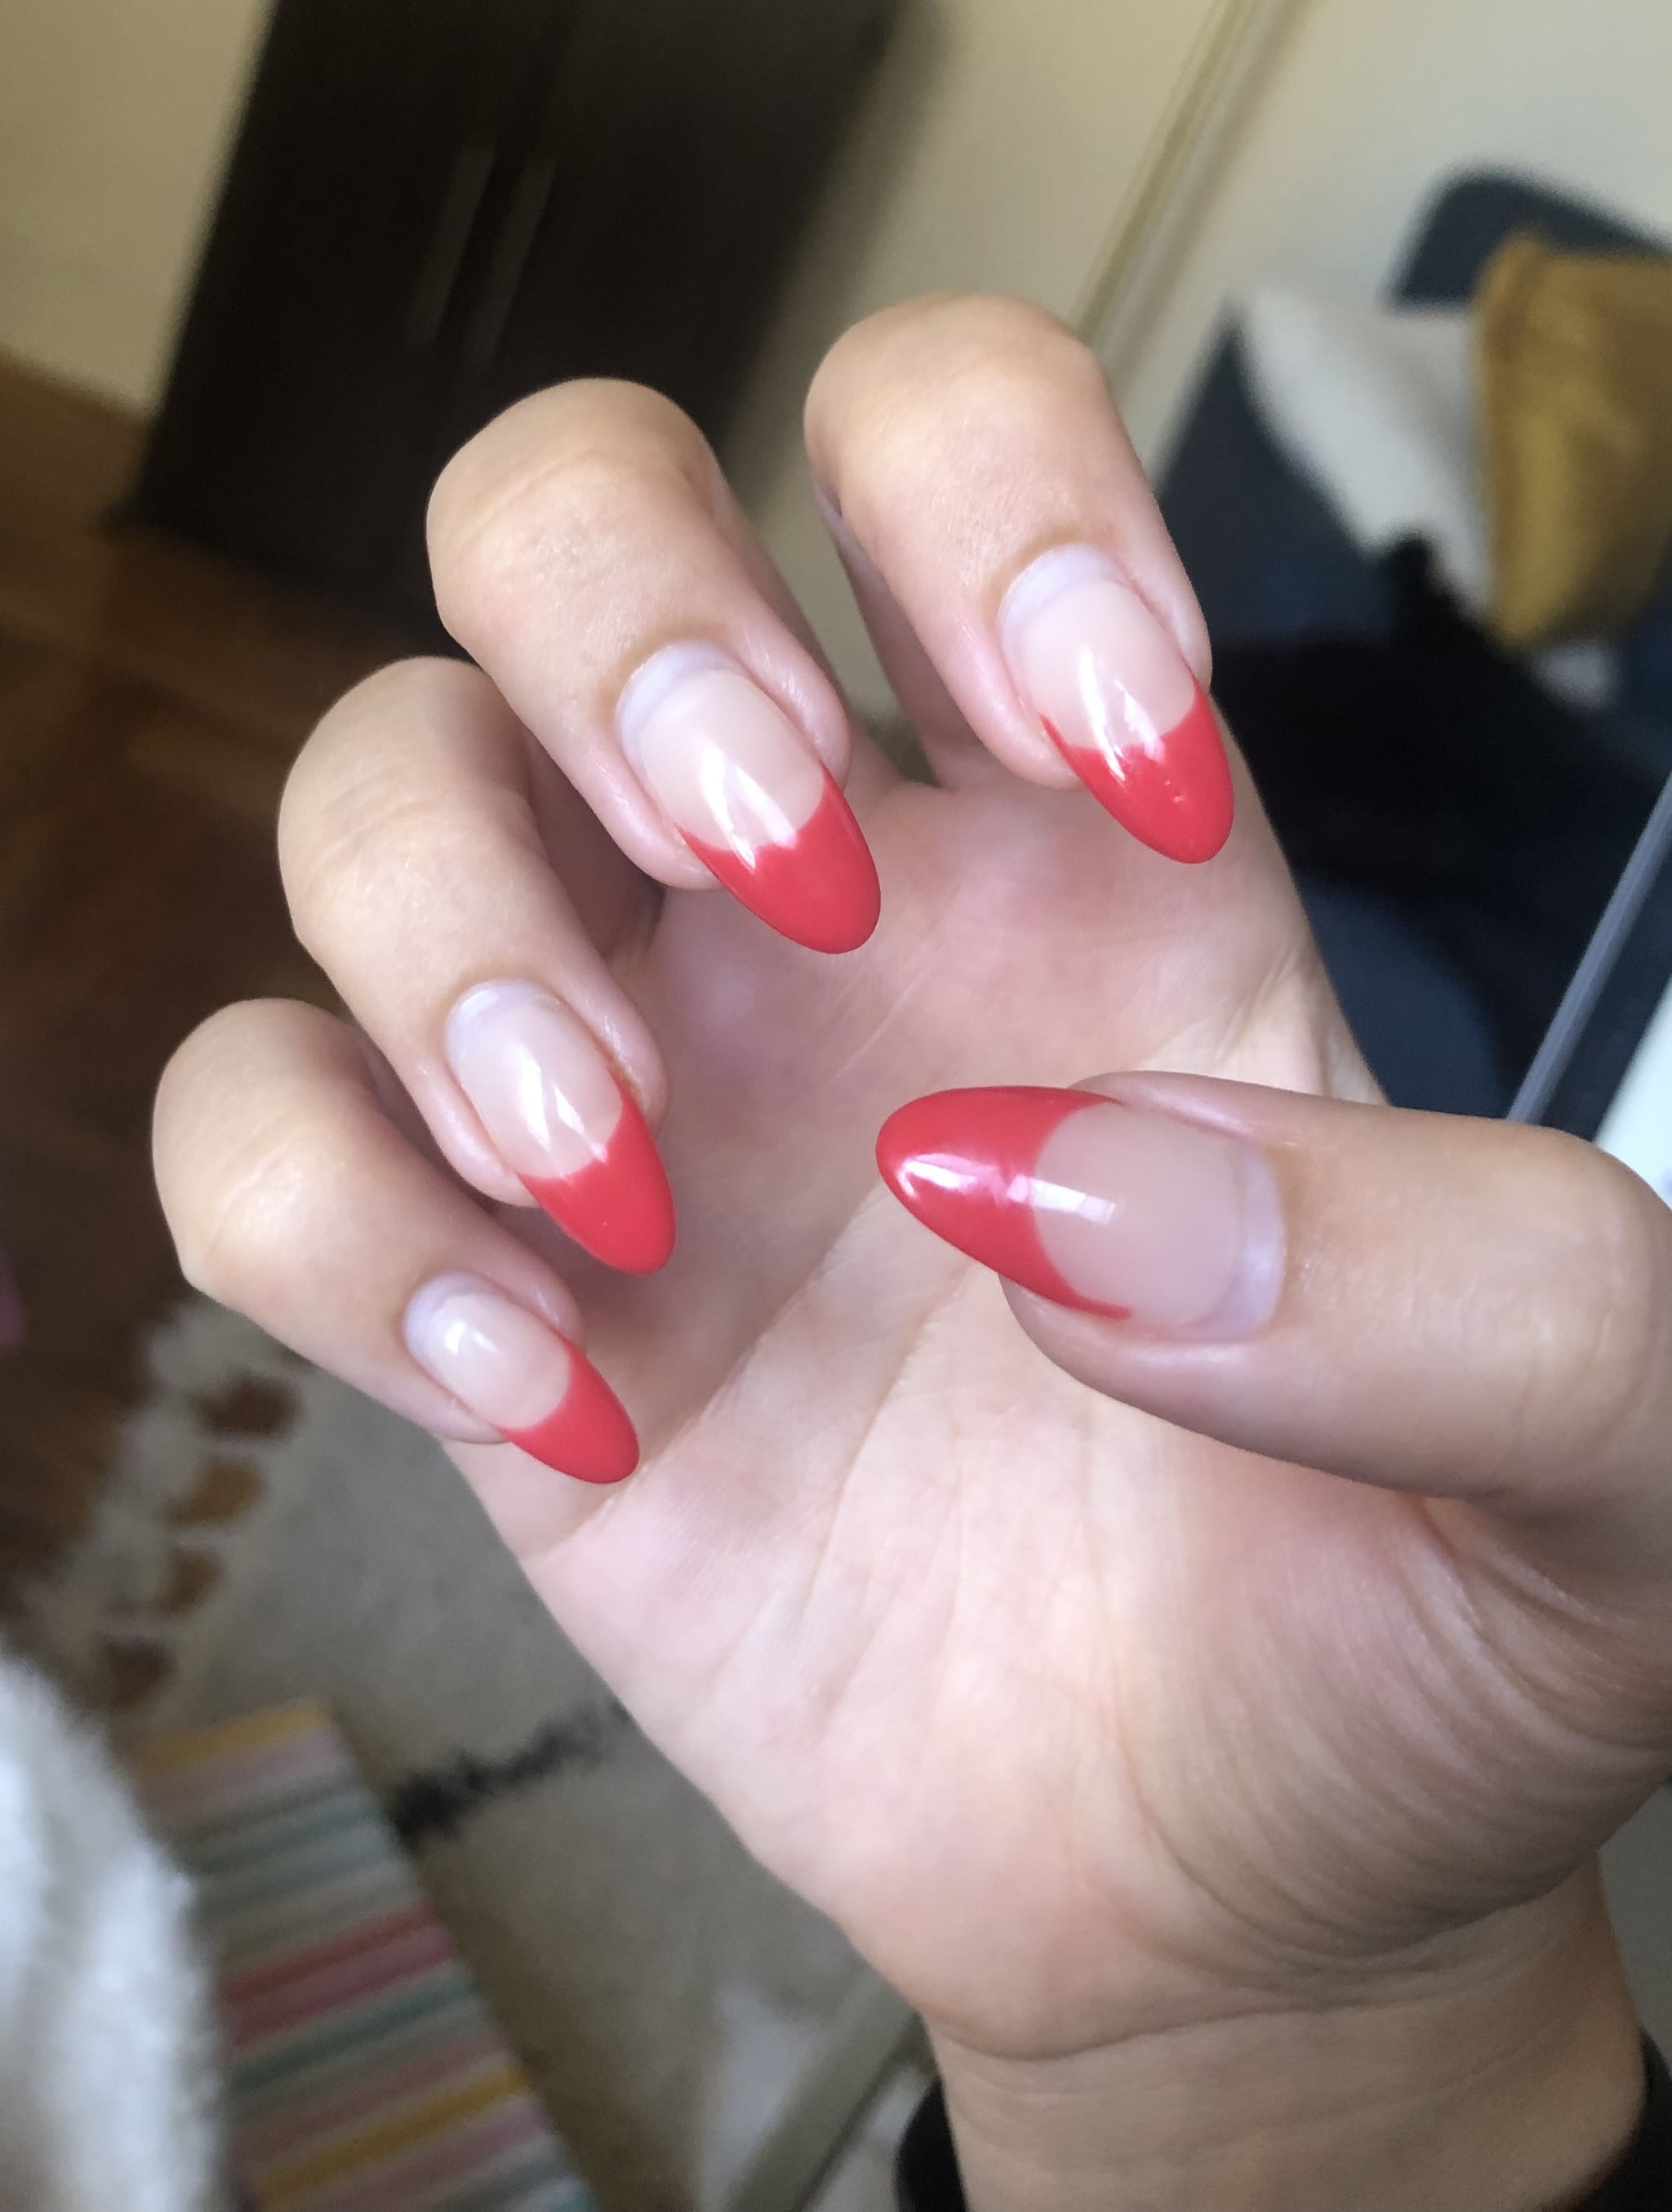
My Nails 3 Weeks After Getting an Apres Gel-X Manicure
In short: I’m obsessed with Apres gel-x nails. The only drawback to the treatment is it can be on the pricer side — I paid around $120 for my manicure, which theoretically took the place of three separate standard manicures. Depending on your budget, it could be great for special events, like weddings, vacations, and birthdays, which is what I plan on saving it for.
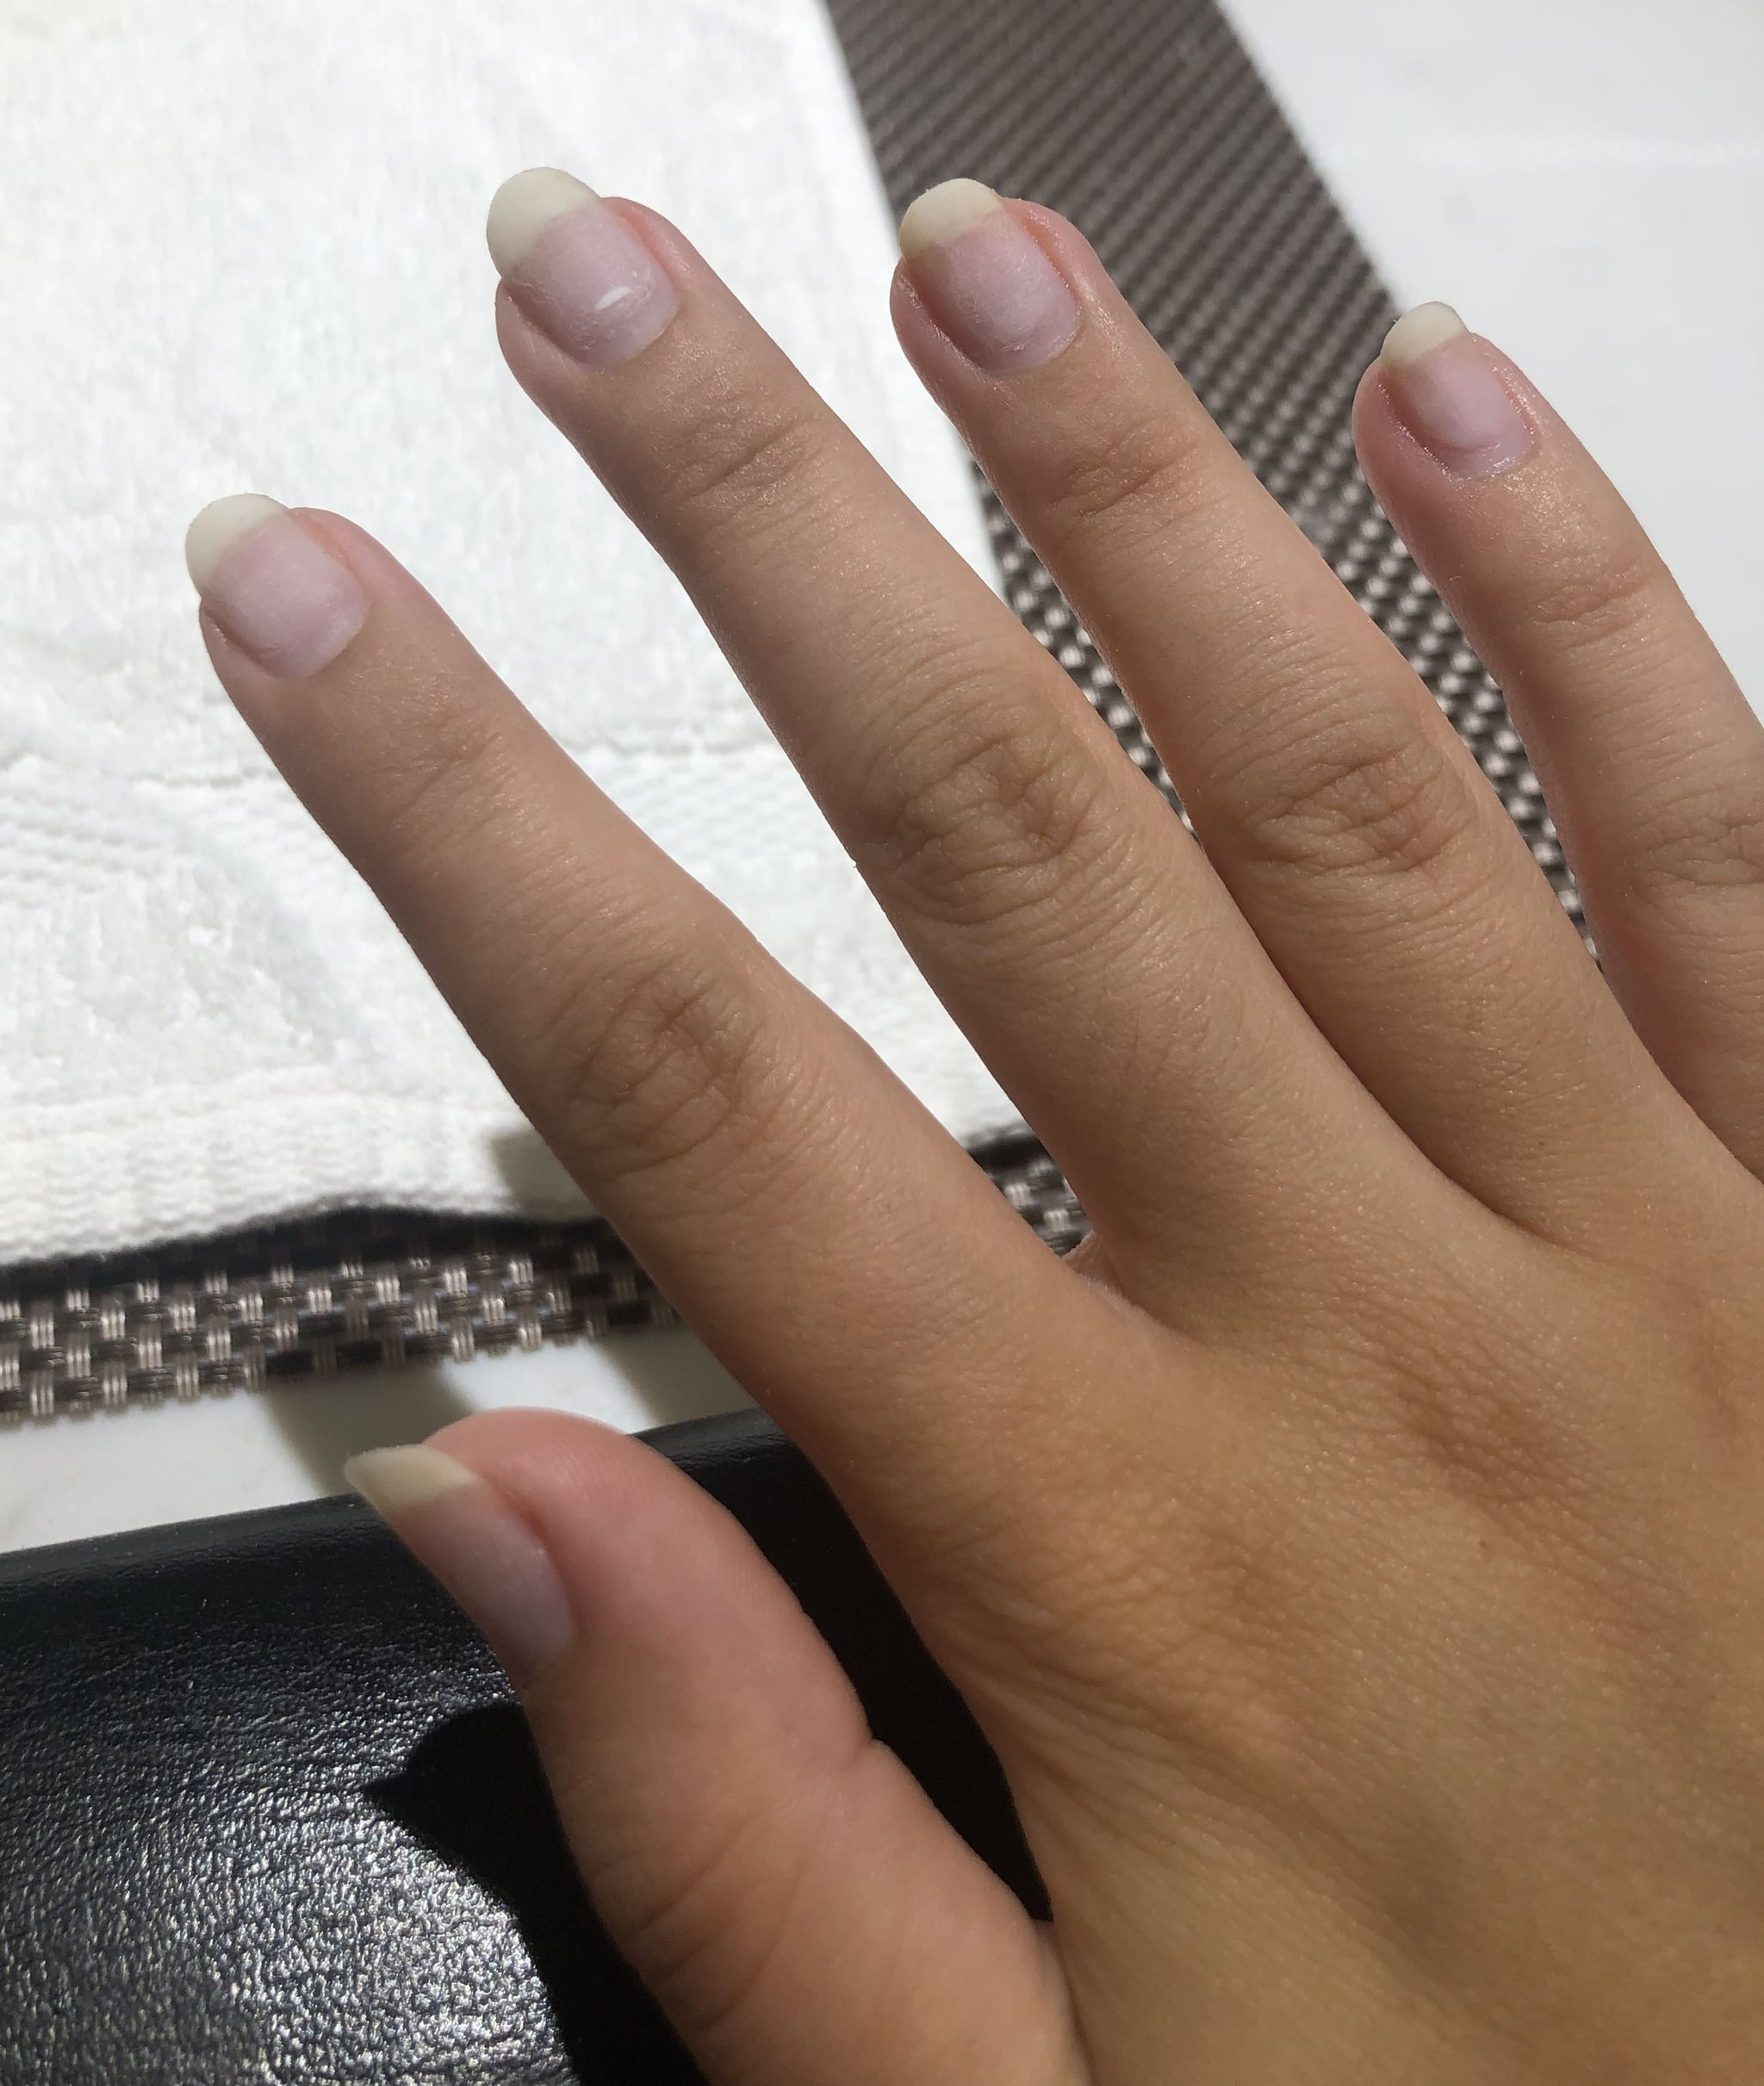
My Nails After Removing the Apres Gel-X Manicure
I made it two and a half weeks with the set on before I went back to the salon to have them removed (although I could have made it the full three). Removal was simple and, although it took 40 minutes to complete, I was surprised to find that my nails weren’t the least bit damaged afterward.
Source: Read Full Article
